Complete Guide to Building an 8x6 Shed on a Budget
A Comprehensive Guide to Economical 8x6 Shed Construction
Constructing a shed offers valuable storage space and can enhance property value. However, the cost of professional construction can be prohibitive. This comprehensive guide details how to build an 8x6 shed affordably, emphasizing cost-effective techniques and material sourcing while maintaining structural integrity and longevity.
Phase 1: Planning and Preparation
Site Selection and Preparation
Careful site selection is paramount. Choose a level area with good drainage to prevent water accumulation around the shed's foundation. Clear the site of vegetation, rocks, and debris. Check local building codes and regulations regarding shed size, placement, and permits. Securing necessary permits beforehand will prevent delays and potential fines. The site should also allow for easy access for materials delivery and construction.
Budgeting and Material Sourcing
Develop a detailed budget encompassing all materials, tools, and potential unforeseen expenses. Utilize cost comparison websites and visit multiple suppliers to obtain the best prices for lumber, concrete, roofing materials, and hardware. Consider purchasing materials in bulk to leverage discounts. Explore options like reclaimed lumber or salvaged materials to significantly reduce costs. Factor in the cost of renting or purchasing necessary tools if you don’t already own them.
Design and Material Specifications
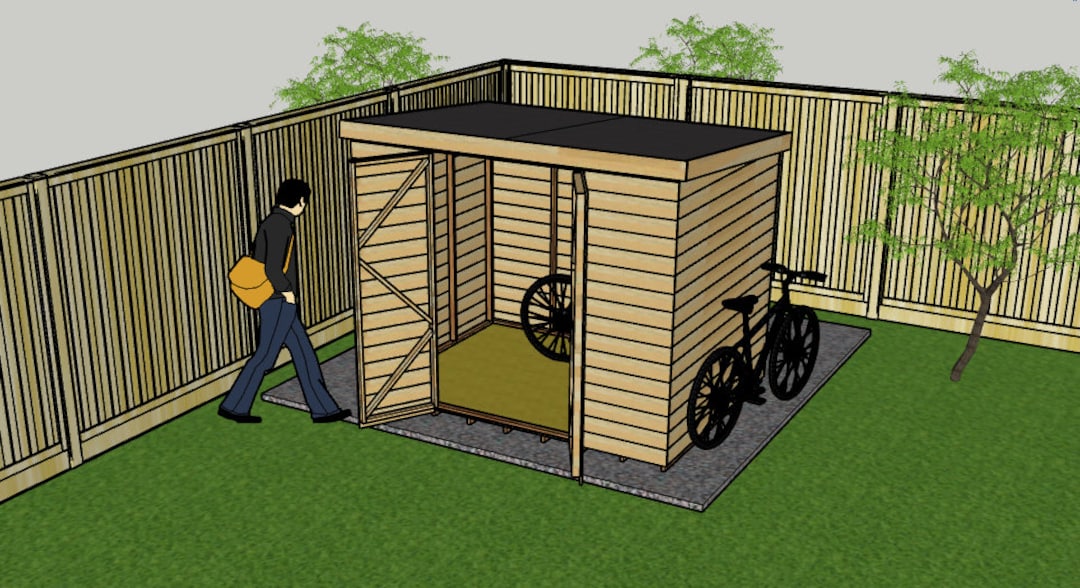
While an 8x6 shed offers ample storage, optimizing design for budget-conscious construction is key. A simple rectangular design minimizes material waste and construction complexity. Choose pressure-treated lumber for the foundation and base framing to ensure rot resistance. Consider using less expensive but durable roofing materials such as asphalt shingles or metal sheeting. Opt for standard sizes of lumber to minimize cutting and waste. Detailed plans and diagrams are crucial; even simple sketches will enhance organization and minimize errors.
Phase 2: Foundation and Framing
Foundation Construction
A solid foundation is critical for the shed's stability. A concrete slab provides the most durable and level foundation, but it’s also the most expensive. A more budget-friendly alternative is a gravel base, combined with pressure-treated skids or concrete blocks for added stability. For a gravel base, excavate the area to a depth of at least 4-6 inches, compact the base, and add a layer of gravel before placing the skids or blocks. Ensure the foundation is perfectly level to avoid structural issues.
Floor Framing
The floor frame is typically constructed using pressure-treated lumber. Utilize 2x6 or 2x8 joists spaced 16 inches apart, resting on the foundation. Ensure the joists are securely fastened to the foundation and create a level and strong base for the floor decking. Plywood or OSB (oriented strand board) forms the floor deck, providing a solid and relatively inexpensive surface. Use appropriate screws or nails for secure fastening. Consider adding a vapor barrier beneath the floor decking in damp climates.
Wall Framing
Construct the wall frames using pressure-treated lumber for the bottom plates, and standard lumber for the studs and top plates. Standard stud spacing is 16 inches on center. Use a level to ensure verticality throughout the framing process. Ensure proper bracing to maintain stability during construction. Use appropriate nails or screws for secure joining. Consider using pre-fabricated wall panels for faster and possibly less expensive construction.
Phase 3: Roofing, Siding and Finishing
Roof Construction
The roof design depends on personal preference and cost considerations. A simple gable roof is relatively straightforward to construct and provides good water runoff. Construct the roof trusses or rafters, ensuring proper spacing and support. Install roofing felt or underlayment before applying the chosen roofing material. Secure the roofing material according to the manufacturer's instructions. Proper ventilation is essential to prevent moisture buildup and extend roof life. Add ridge vents and soffit vents as needed.
Siding Installation
Siding adds protection and aesthetic appeal. Less expensive options include vinyl siding, corrugated metal, or even treated plywood. Install the siding according to the manufacturer's instructions, ensuring proper overlap and sealing to prevent water ingress. Consider using trim boards to enhance the aesthetic appeal and protect the edges of the siding.
Door and Window Installation
Install pre-hung doors and windows for ease of installation. This reduces the complexity of fitting and finishing around the openings. Use appropriate framing and flashing to ensure watertight seals around the door and window frames. Ensure that all openings are properly sealed to prevent drafts and water leaks.
Phase 4: Final Touches and Considerations
Painting and Finishing
Painting the exterior of the shed protects the wood from the elements and enhances its appearance. Use a high-quality exterior paint suitable for the chosen siding material. Consider painting the interior walls as well for added protection and improved aesthetics.
Safety Precautions
Throughout the construction process, prioritize safety. Wear appropriate safety gear, including safety glasses, gloves, and hearing protection. Use proper lifting techniques to avoid injury. Ensure the stability of the structure throughout construction and avoid working at heights without proper safety measures.
Maintenance
Regular maintenance will extend the life of your shed. Inspect the structure periodically for signs of damage or wear. Address any issues promptly to prevent further deterioration. Paint or stain the exterior as needed to protect the wood from the elements. Ensure proper ventilation to prevent moisture build-up.
By following this comprehensive guide and prioritizing cost-effective techniques, building an 8x6 shed on a budget is achievable. Remember that thorough planning, careful material sourcing, and attention to detail are key to a successful and economical project.
Comments
Post a Comment