8x12 Lean-To Shed Plans: Step-by-Step Guide for Your Backyard
8x12 Lean-To Shed Plans: A Step-by-Step Guide for Your Backyard
This comprehensive guide provides a detailed, step-by-step plan for constructing an 8x12 lean-to shed. Lean-to sheds, characterized by their single sloped roof design, are popular choices for backyard storage due to their simplicity, affordability, and ease of construction. This guide assumes a basic understanding of carpentry and the use of common power tools. Always prioritize safety and refer to relevant building codes and regulations in your area before commencing construction.
I. Planning and Preparation
Thorough planning is crucial for a successful shed construction project. This phase involves several critical steps:
A. Site Selection and Preparation
Choose a level, stable location for your shed. Consider proximity to power sources (if needed for electrical outlets within the shed), accessibility, and the overall aesthetic impact on your property. Clear the chosen area of any vegetation, debris, and rocks. Mark out the 8x12 footprint using stakes and string, ensuring squareness using a measuring tape and square. Level the ground using a shovel and a garden rake to create a solid foundation.
B. Material Selection and Procurement
Creating a detailed materials list is essential to avoid mid-project delays. The following materials are required for an 8x12 lean-to shed:
- Pressure-treated lumber for the foundation, framing, and supports (size will depend on local building codes, but 4x4 posts and 2x4 or 2x6 framing are common).
- Plywood or OSB sheathing for the walls and roof.
- Roofing material (asphalt shingles, metal roofing, etc.).
- Nails, screws, and other fasteners.
- Concrete (for a concrete foundation, optional but recommended).
- Exterior grade paint or sealant (optional).
- Door and window materials (if desired).
C. Permitting and Inspections
Check with your local building department to determine if a permit is required for the construction of an 8x12 lean-to shed. Obtain any necessary permits before starting the project. Understand the inspection process and schedule inspections as required by your local regulations.
II. Foundation Construction
A solid foundation is paramount for the longevity and stability of your shed. Several options exist:
A. Concrete Slab Foundation
This method provides the most robust and level foundation. Excavate the area to a depth suitable for your local frost line (consult local building codes). Pour a concrete slab, ensuring proper leveling and reinforcement using rebar. Allow ample curing time before proceeding to the next stage.
B. Gravel Base Foundation
A simpler, less expensive alternative to a concrete slab. Excavate the area and lay down a layer of gravel, compacting it thoroughly. This method is suitable for well-drained areas but may not offer the same level of stability as a concrete foundation.
III. Framing the Shed
The framing phase involves constructing the shed's skeleton. Accurate measurements and precise cuts are crucial for a structurally sound shed.
A. Building the Floor Frame
Construct a rectangular frame using pressure-treated lumber, ensuring squareness and levelness. Attach the floor joists to the frame, spaced appropriately (usually 16 inches on center). Install plywood or OSB sheathing over the joists to create the shed floor.
B. Erecting the Wall Frames
Construct the wall frames using pressure-treated lumber, following the measurements of your shed. Ensure the wall frames are plumb and square before attaching them to the floor frame. Consider adding bracing for extra stability.
C. Installing the Roof Supports
The lean-to design requires a single sloping roof. Construct the roof supports, ensuring proper slope and angle. Attach the supports to the wall frames securely, ensuring they are properly aligned and level.
D. Attaching the Roof Sheathing
Once the roof supports are in place, attach the plywood or OSB sheathing to the roof frame. Ensure proper overlapping of the sheathing for a watertight seal. Make sure the sheathing is securely fastened using appropriate nails or screws.
IV. Roofing and Exterior Finishing
This stage involves completing the exterior of the shed, providing protection from the elements.
A. Installing the Roofing Material
Install the chosen roofing material (e.g., asphalt shingles, metal roofing) according to the manufacturer's instructions. Pay careful attention to flashing around the edges and any penetrations (such as vents or chimneys).
B. Adding Siding (Optional)
If desired, add exterior siding to the walls of the shed for added protection and aesthetics. Various siding options exist, from wood to vinyl to metal.
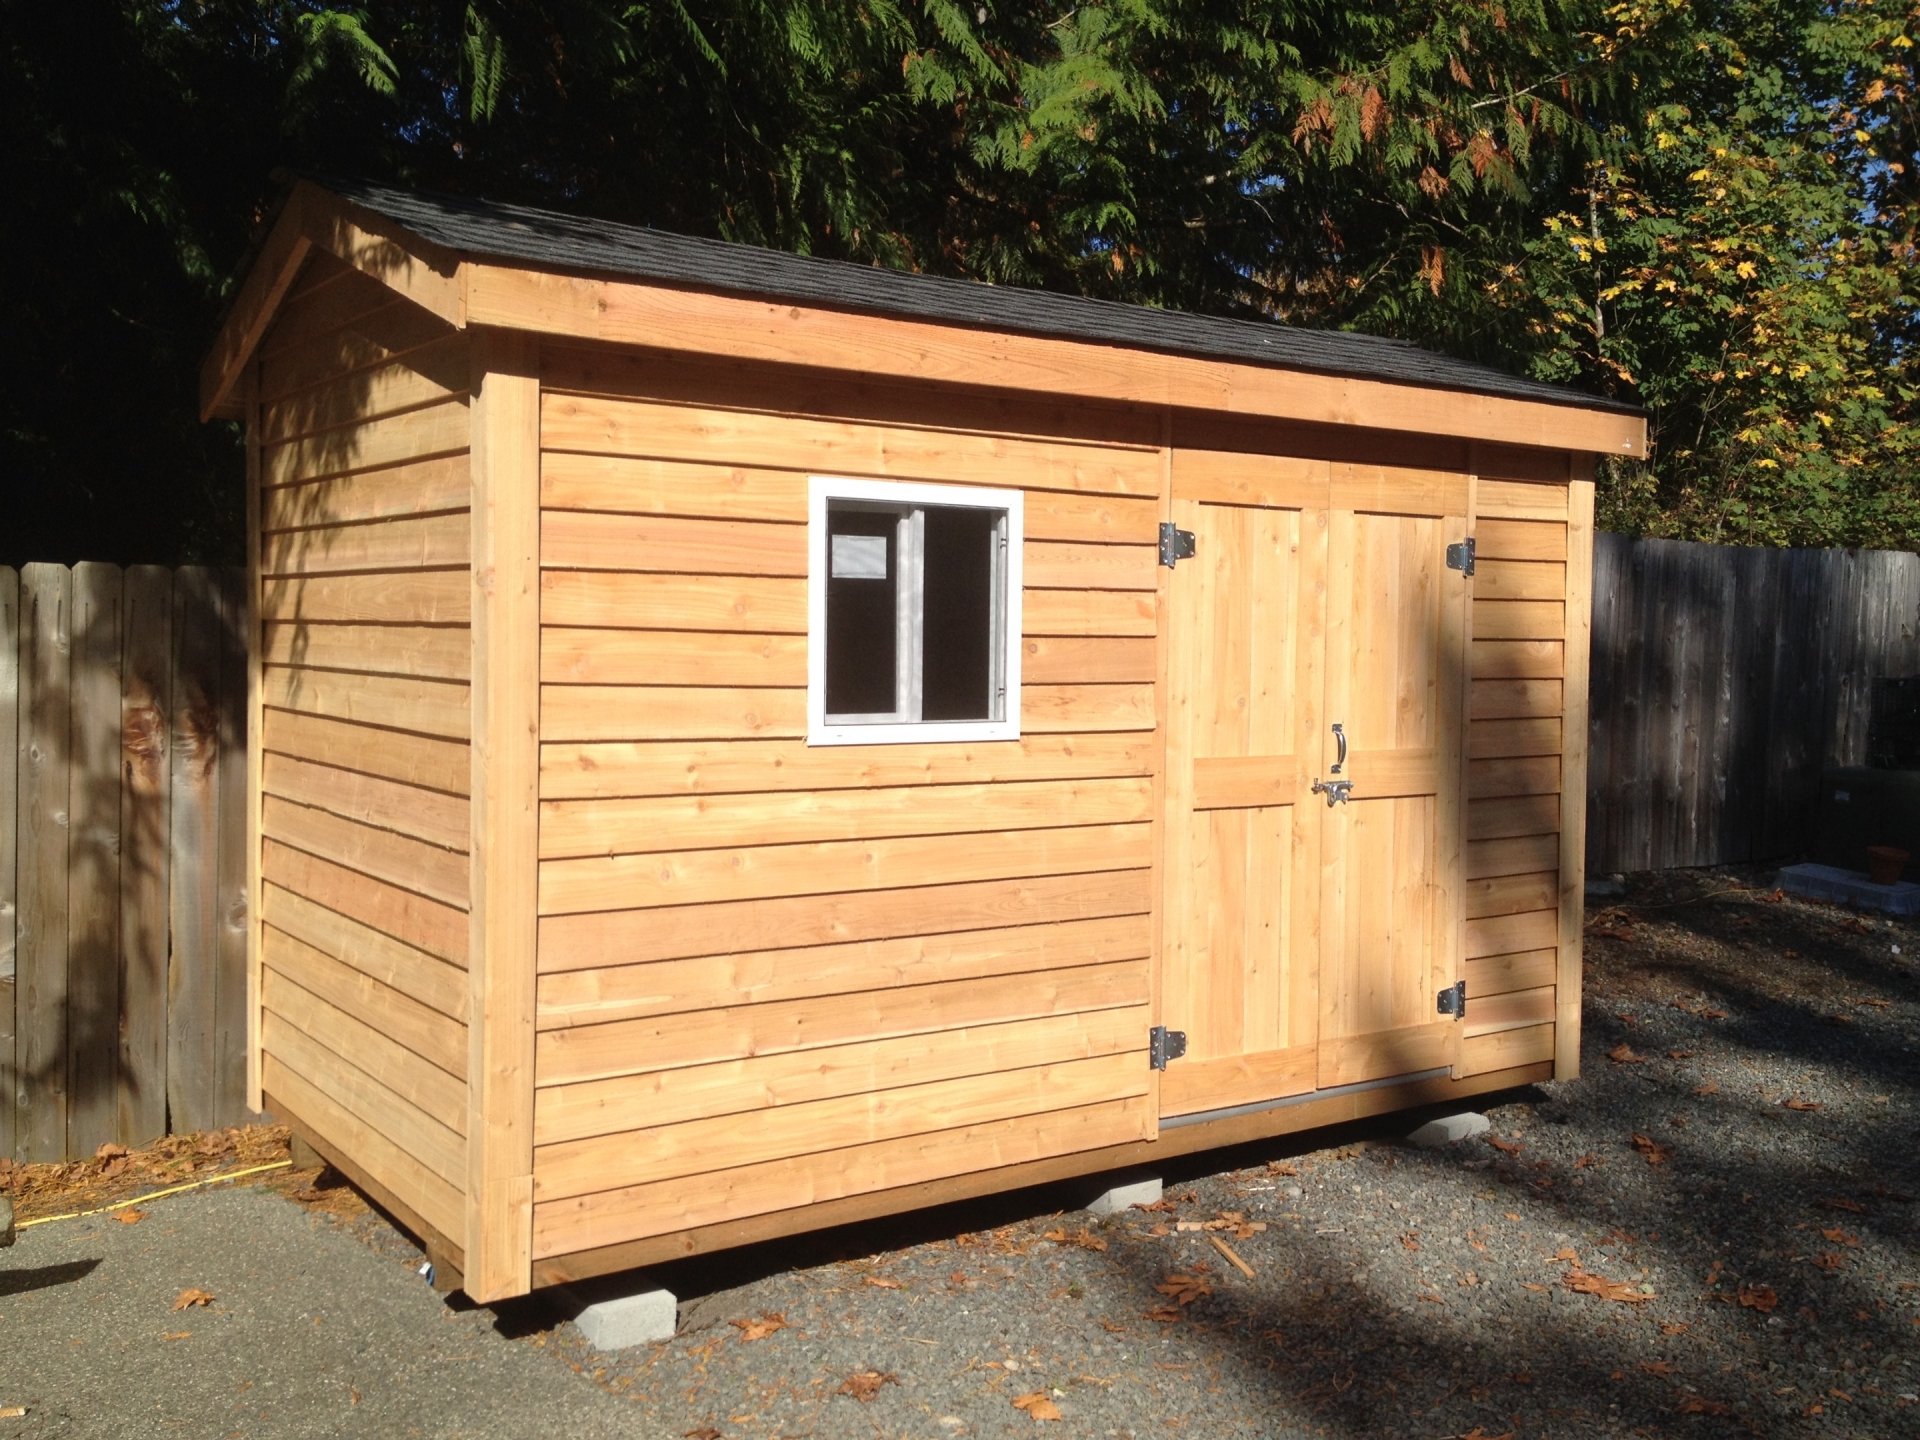
C. Installing Doors and Windows (Optional)
Install doors and windows, if included in your design. Ensure proper sealing and weatherproofing around the openings.
V. Interior Finishing and Final Touches
The final stage involves completing the interior of the shed.
A. Interior Wall Finishing
Finish the interior walls as desired. This could involve painting, adding insulation, or installing drywall.
B. Electrical Work (Optional)
If adding electrical outlets or lighting, ensure compliance with all electrical codes and regulations. Hire a qualified electrician if you are not comfortable performing this work yourself.
C. Final Cleaning and Inspection
Perform a final cleaning of the shed, removing any debris or leftover materials. Schedule a final inspection by your local building department if required.
Constructing an 8x12 lean-to shed is a rewarding project that significantly enhances your backyard’s utility. By following these detailed plans and prioritizing safety, you can create a durable and aesthetically pleasing storage solution tailored to your needs. Remember to always consult local building codes and regulations throughout the construction process.


Comments
Post a Comment