How to Build a Lean-To Shed: Quick and Simple Outdoor Storage Solution
How to Build a Lean-To Shed: Quick and Simple Outdoor Storage Solution
Tired of clutter piling up in your garage or backyard? A lean-to shed offers a straightforward and affordable solution for creating extra storage space. This simple structure, leaning against an existing wall or fence, requires minimal materials and construction expertise. This guide walks you through building your own lean-to shed, transforming that unused space into a functional and organized area.
Planning Your Lean-To Shed
Before you grab your tools, careful planning ensures a successful project. First, determine the size of your shed. Consider the items you’ll store and the available space against your existing wall or fence. Next, choose your location wisely. Ensure the area is level, has adequate drainage, and receives minimal direct sunlight to prevent overheating and damage to stored items. Finally, check local building codes and permits; depending on your location and the size of your shed, permits may be required.
Material Selection
Selecting the right materials is crucial for both durability and aesthetics. Consider pressure-treated lumber for the frame, providing resistance to rot and insects. For roofing, choose a waterproof material like asphalt shingles or corrugated metal sheeting. Opt for strong and durable screws and nails appropriate for outdoor use. A sturdy base is crucial, so determine if you need a concrete slab, compacted gravel, or simply a level patch of ground. Remember to account for all necessary hardware such as hinges and a latch for the door, if desired.
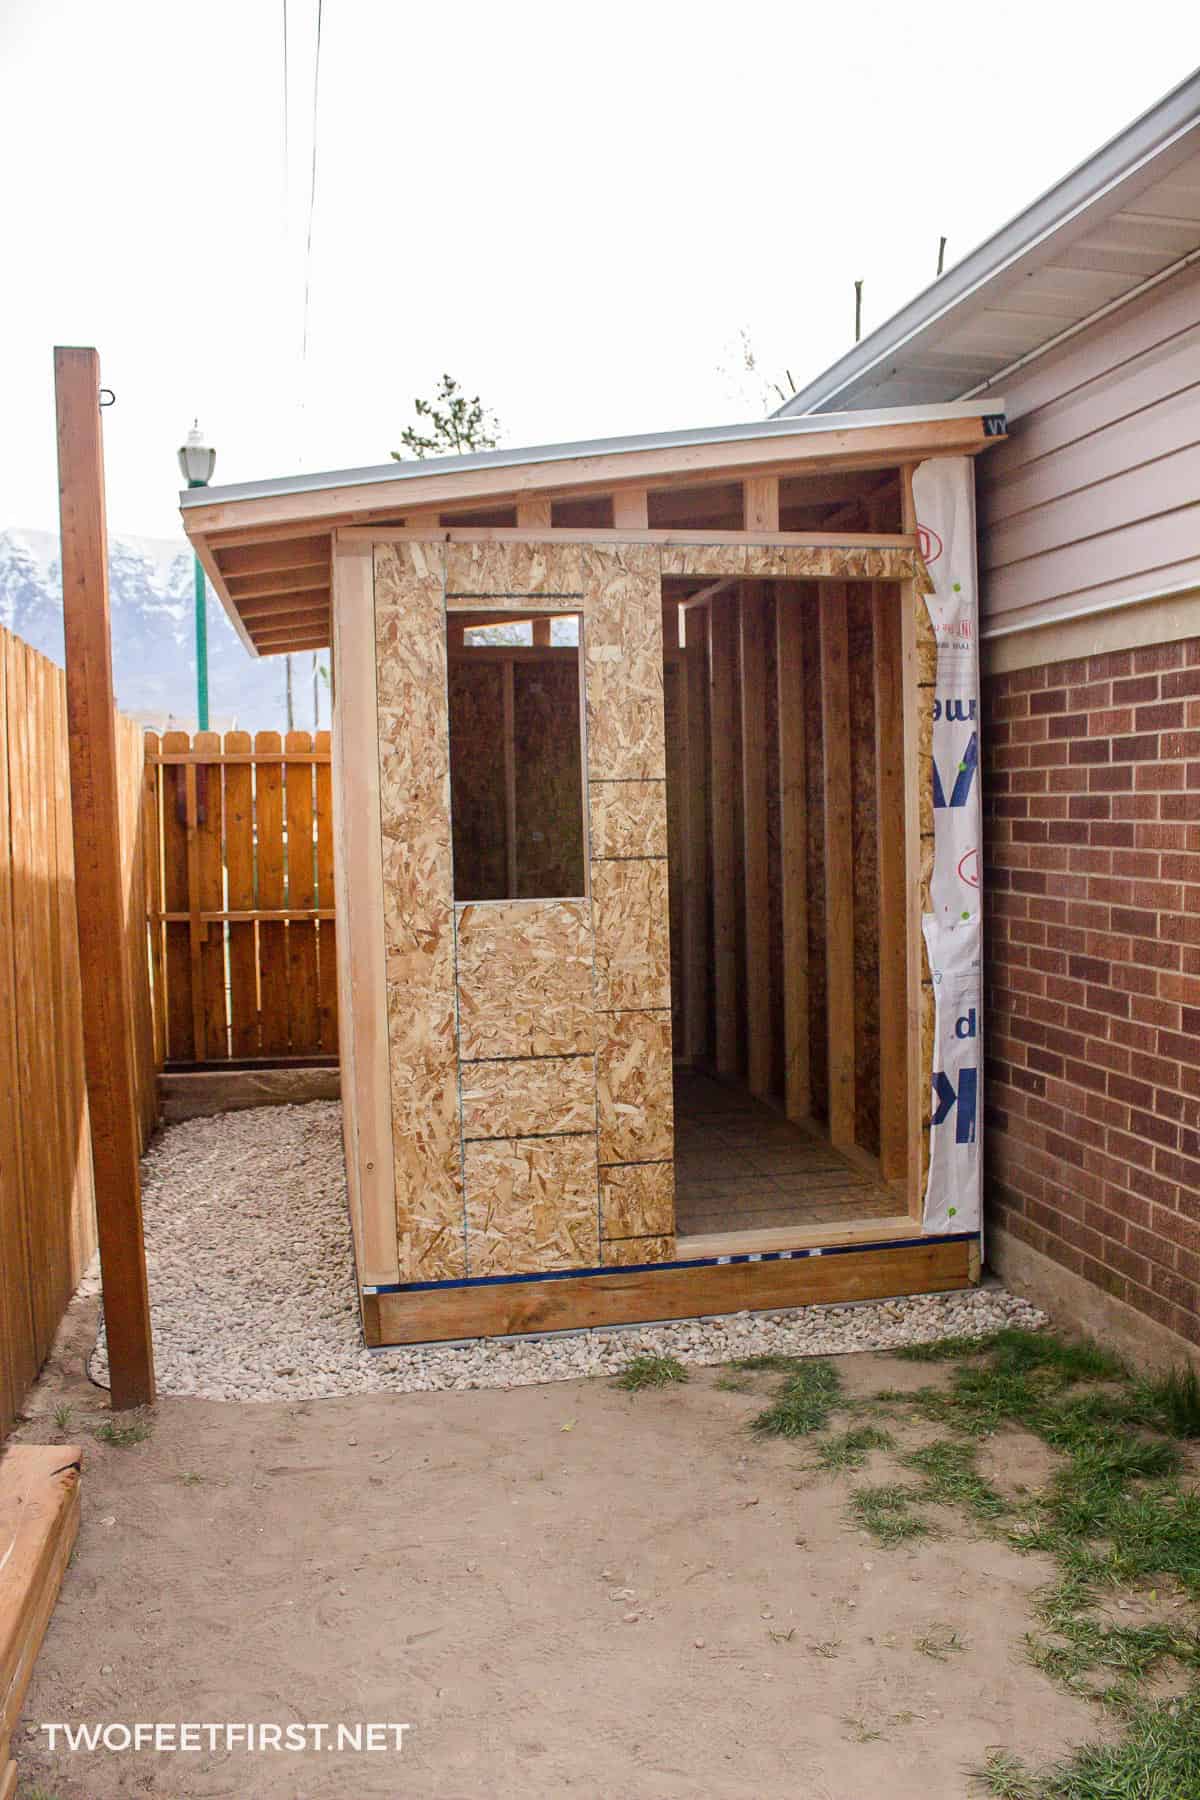
Building the Lean-To Shed: A Step-by-Step Guide
With your plans finalized and materials gathered, you’re ready to build! Begin by preparing the base. Level the ground thoroughly and compact it if necessary. A concrete slab offers the most stability, but compacted gravel provides a good, inexpensive alternative. Next, construct the frame. Cut and assemble the pressure-treated lumber according to your plan. Ensure the frame is square and securely fastened using appropriate screws or nails. Remember to anchor the frame securely to the existing wall or fence.
Adding Roofing and Finishing Touches
Once the frame is complete, it’s time to install the roofing. Carefully attach the chosen roofing material, ensuring proper overlap for optimal waterproofing. Consider adding extra sealant around edges to prevent leaks. Finally, add any desired finishing touches. This might include adding a simple door using hinges and a latch, painting the shed to match your house or landscaping, or installing shelves for organized storage. Remember to leave adequate ventilation to prevent moisture buildup inside the shed.
Essential Tools and Materials
Gather these essential tools and materials before you start your project:
- Pressure-treated lumber
- Roofing material (asphalt shingles, corrugated metal, etc.)
- Screws and nails
- Measuring tape and level
- Saw (circular saw or hand saw)
- Drill
- Shovel (for ground preparation)
- Hammer
- Safety glasses and gloves
- Optional: Door hinges, latch, paint, shelves
Building a lean-to shed is a manageable weekend project for even novice DIYers. With careful planning and these step-by-step instructions, you'll soon enjoy the extra storage space and organizational benefits of your new outdoor shed. Remember to prioritize safety throughout the construction process and enjoy the satisfaction of creating something functional and useful for your home.


Comments
Post a Comment